Chapter 8: Create a DigiBook album with your album
Turn your Album to Digibook for presentation!
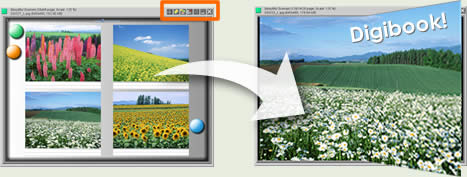
Did you know your can turn your album into 'DigiBook' with just a click? DigiBook is a perfect solution to presenting your photos in close details! Simply click a button shown in the instruction below, and make a DigiBook album from your photo album!
How to create a DigiBook album
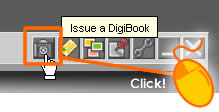
Click [Issue a DigiBook] button in a toolbar located on top right corner of an album.
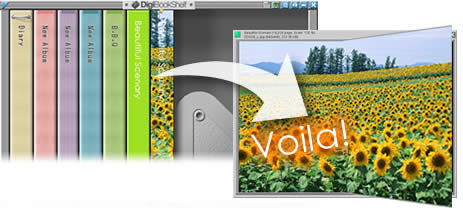
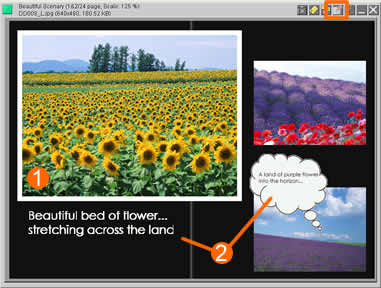
(1) Add one image on each spreadpage
Choose this option to create default DigiBook as shown above. Each spreadpage(2 pages) will hold just one picture.
(2) Select Spread Page Layout
Choose this option if you wish to want to apply a spreadpage layout for the digibook.
(3) Select Story Layout
Choose this option if you wish to want to apply a Story layout for the digibook.
Extra Tip!
Customize your DigiBook Album!
If you want to take a step further and spice up your DigiBook album, this tip is for you!
Free up you fixed layout
Click a [Layout button] to free up the layout of an album, so you can resize the picture or insert ClipArts.
(1) Give the thumbnail a Frame
Right-click on a picture thumbnail to open a Menu Sheet.
Click the [Preference] button, and select [Frame Settings...'].
In Frame Settings window, click the Thumbnail tab, and check in [Add frame].
(2) Add Cliparts
Right-click anywhere on a spreadpage to open a Menu Sheet.
Click [Add Clip Art] button to open a Clip Art window as shown in the right. Select Clipart you like and click OK.